macOS Catalina 10.15 comes out on 3rd July 2019 in the “WWDC” worldwide conference with new pieces of stuff and a bunch of new features. Apple experimented for few to bring lots of changes to Keynote and features, to give better performance to software and hardware of PC. Also, 2019 is one the best journey for Apple that covered several huge stuff on Apple TV, WatchOS, iPad, Mac Pro, iPhone, and the latest update to the macOS operating system. Every macOS operating system name is taken from a place which locates in America. And also macOS Catalina’s name is taken from an island which is California.
This can be one of the big news for macOS lovers that they can use there iPad in macOS Catalina as a second screen display using Sidecar. Sidecar allows you to monitor your iPad works on macOS Catalina at the same time. But macOS Catalina has another feature like Apple pencil, using Apple Pencil can be a big experience for sketching, drawing, edit, Graphic, and other Apps.
However, it is a piece of good news for Windows users who doesn’t have Mac computers. They can use Virtual machine like VMware, and VirtualBox to test the features on there Windows PC. In this article, you will learn how to install macOS Catalina final on VirtualBox on Windows PC.
Table of Contents
How to install macOS Catalina final on VirtualBox on Windows PC
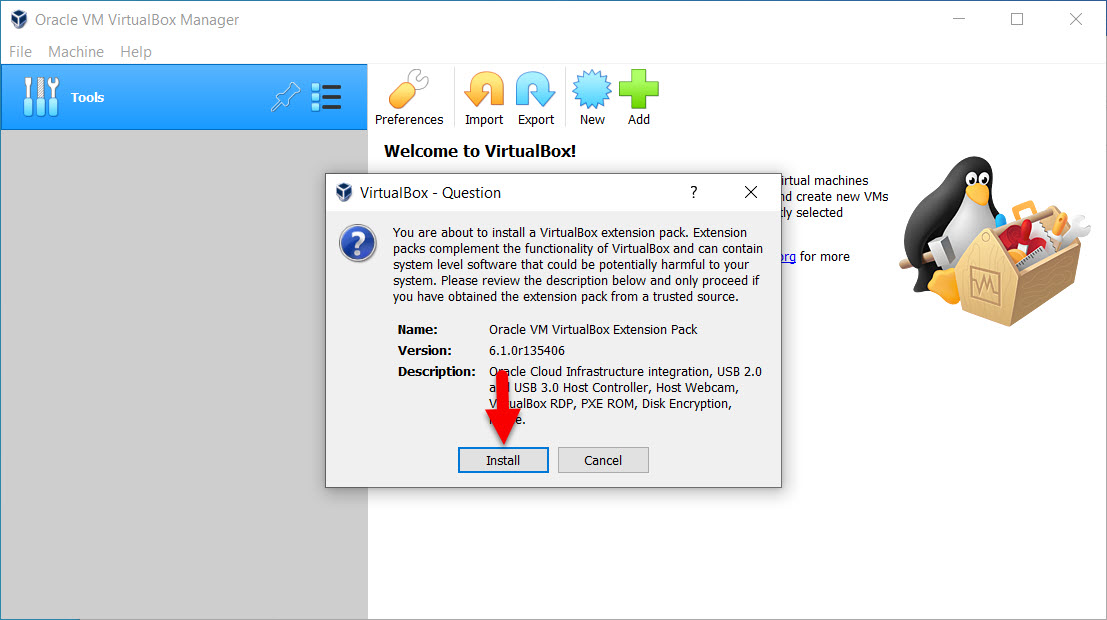
Before starting you need to complete the requirements of macOS Catalina to install on VirtualBox. Firstly, you need to download VirtualBox from its official site. And make sure that you have to download the latest version, after that, download and install the VirtualBox Extension Pack. Extension Pack is like a helper tool to help the developer to enable the USB 3.0 on VirtualBox. Or in some cases, the mouse & keyboard is not working after installing an extension pack. You will be allowed to enable the mouse & keyboard on VirtualBox.

Navigate to VirtualBox site and download the extension packages after that, download the latest one. While the downloaded is completed double click on setup to launch. Click install, agree to terms and conditions when the installation is completed click OK.

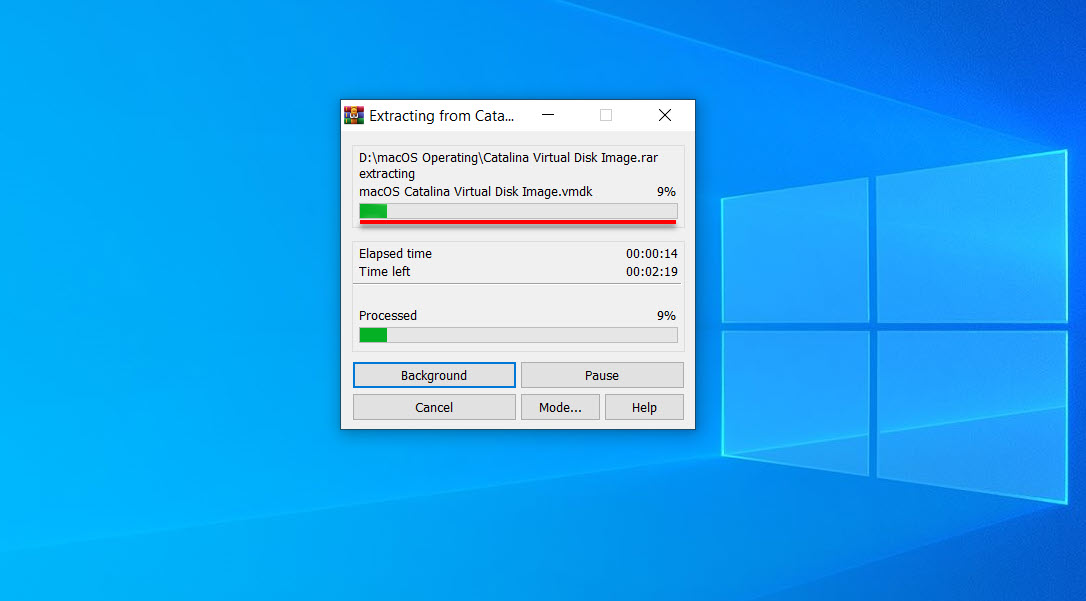
Extract the VMDK file using WinRaR on 7Zip, right-click on the file and click Extract here

Create a new Virtual machine for macOS Catalina
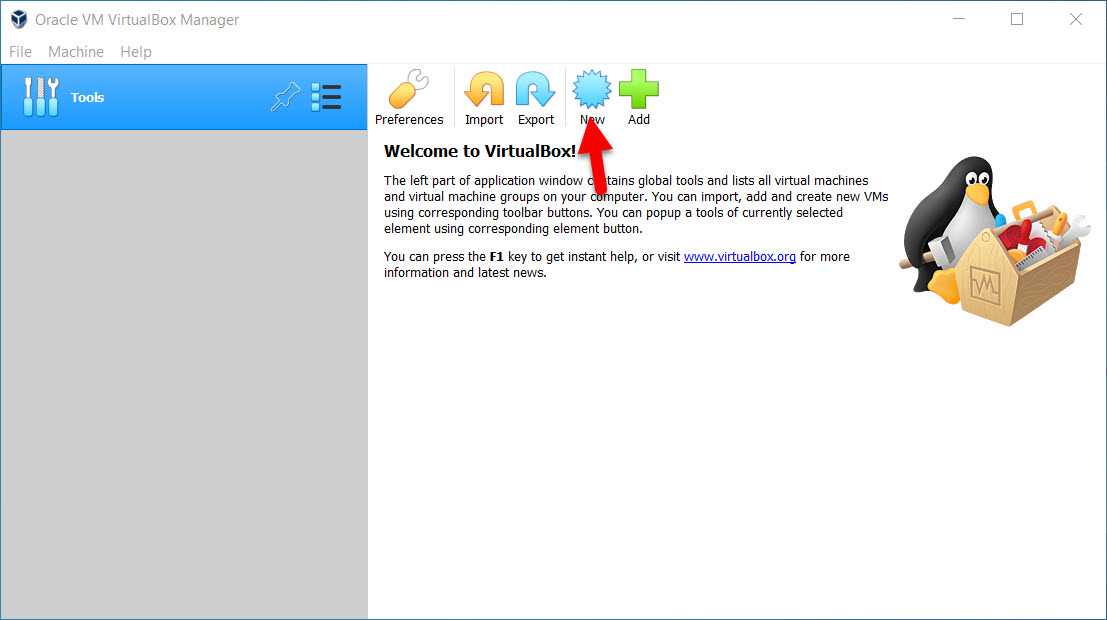
Creating a virtual machine is easy as the same you create a virtual machine for macOS Mojave, Ubuntu, Kali Linux, or Windows. But the procedure changes that in place of ISO file you use here VMDK file. Launch VirtualBox and click on new.
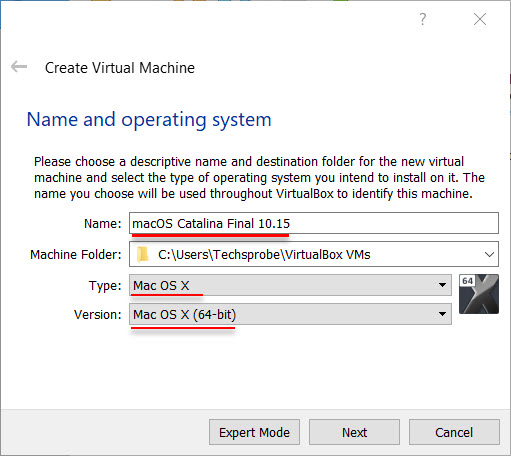
Now type a name for the virtual machine choose the type and version then click next.

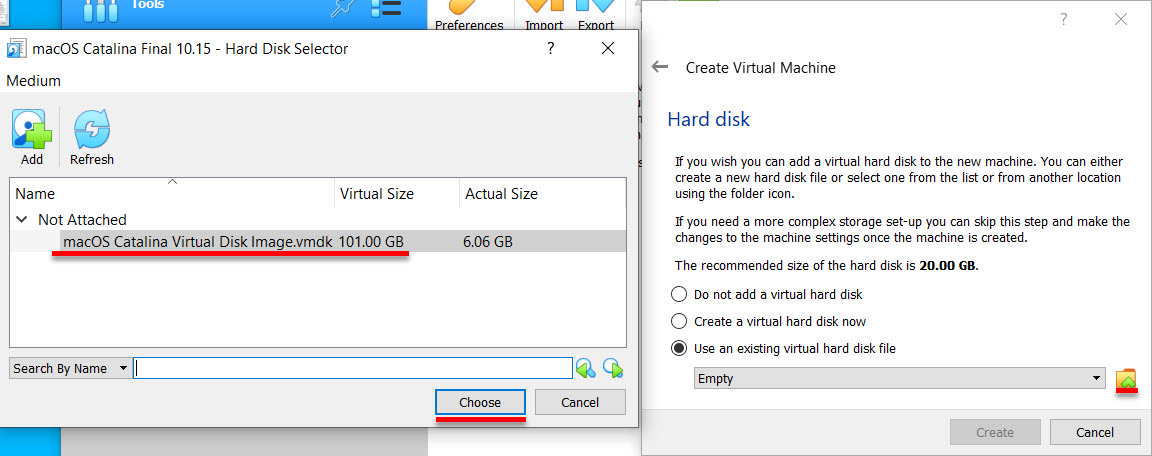
In the hard disk option select the third one “Use an existing virtual hard disk file” and click on the ow folder. After that, click the Add button then browse for the macOS Catalina VMDK file. When you selected the VMDK file click choose, and finally click create.

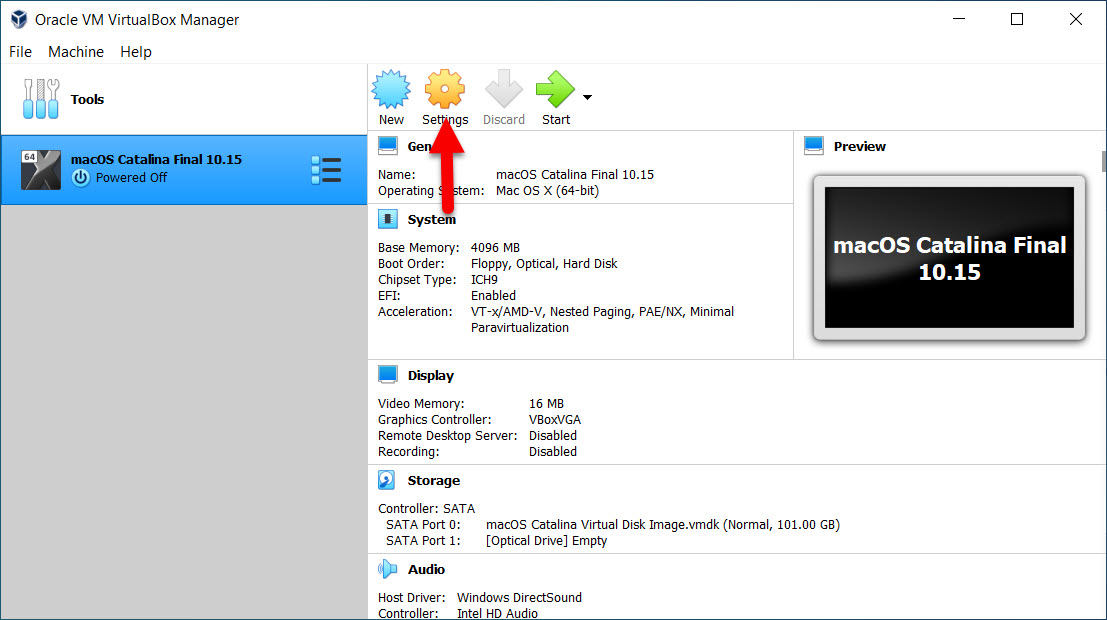
However, when all the setting is done for creating a virtual machine for macOS Catalina. It is the time to customize and bring some essential changes on the hardware for better performance. Click on the setting.
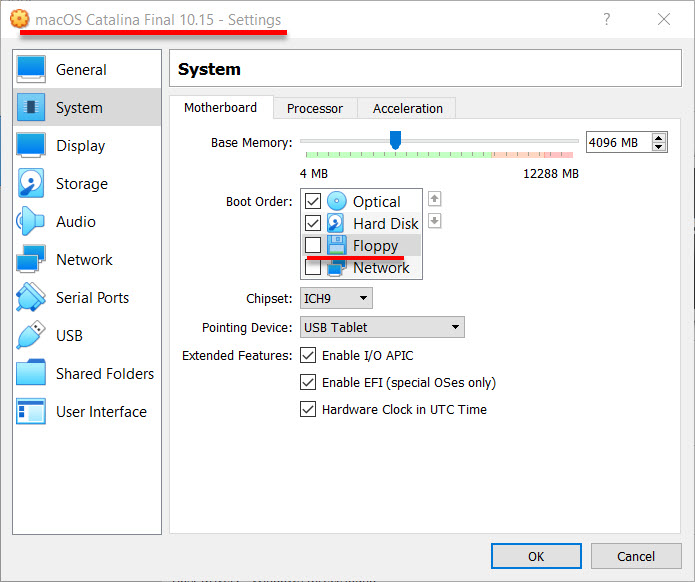
The setting window opened now click System and increase the memory size and uncheck the Floppy disk.

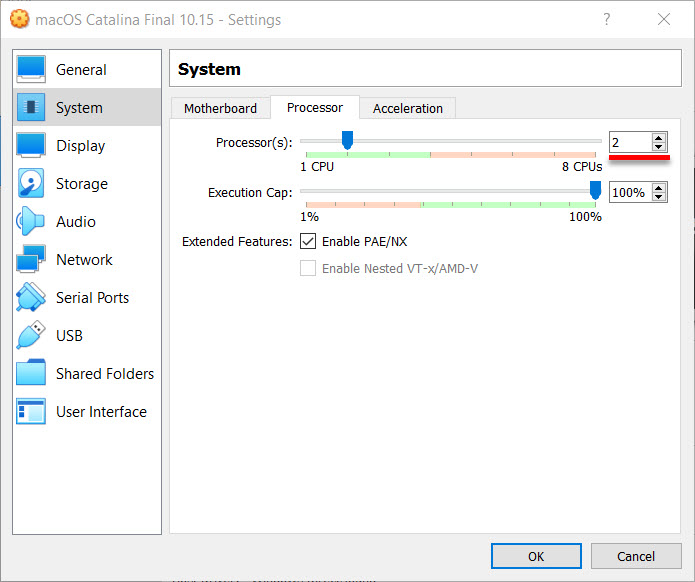
Navigate to the processor tab and increase the number of the processor according to your system compatibility.
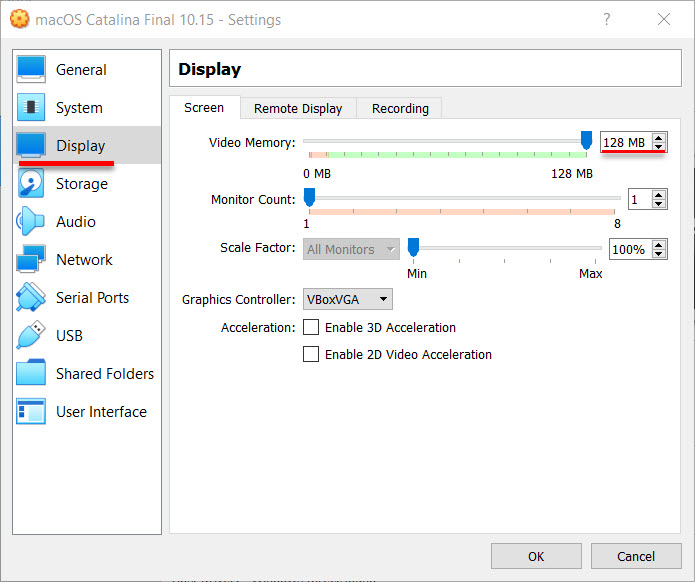
Come down to the display menu and increase video memory up to 128 MB.
Insert the Virtual machine code to CMD
When you are done with the basic step of a virtual machine after that, then it is time to insert some code for macOS Catalina in VirtualBox. Remember that contrast on every step of Virtual machine otherwise you will not be able to ahead or install macOS Catalina on VirtualBox.
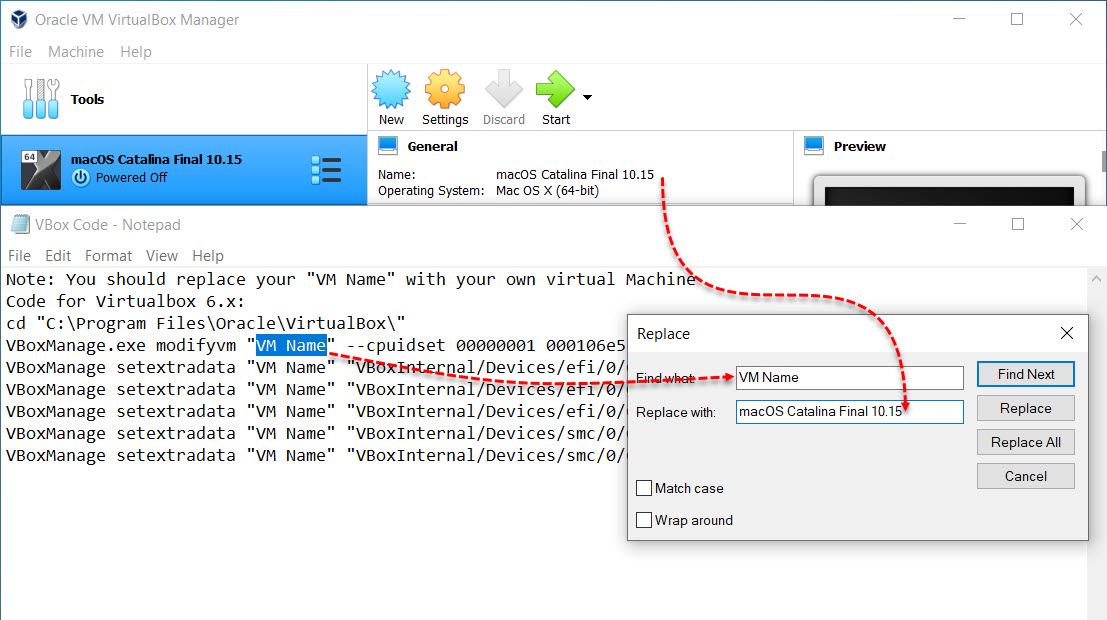
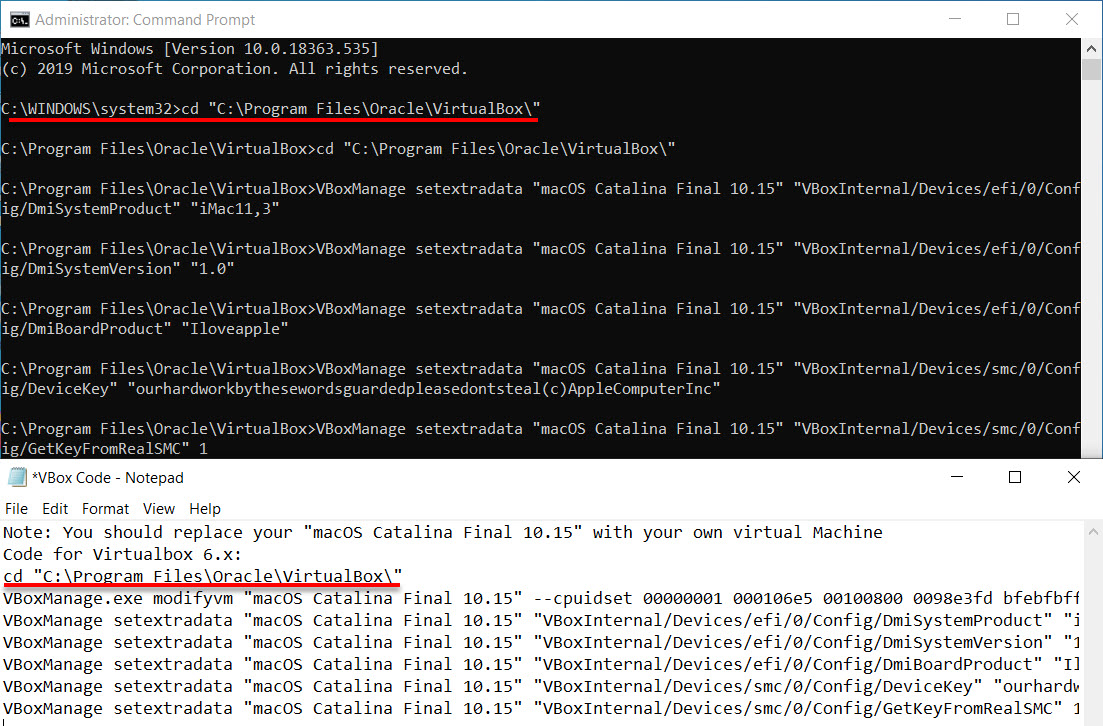
Note: You should replace your "VM Name" with your own virtual Machine
Code for Virtualbox 6.x:
cd "C:\Program Files\Oracle\VirtualBox\"
VBoxManage.exe modifyvm "VM Name" --cpuidset 00000001 000106e5 00100800 0098e3fd bfebfbff
VBoxManage setextradata "VM Name" "VBoxInternal/Devices/efi/0/Config/DmiSystemProduct" "iMac11,3"
VBoxManage setextradata "VM Name" "VBoxInternal/Devices/efi/0/Config/DmiSystemVersion" "1.0"
VBoxManage setextradata "VM Name" "VBoxInternal/Devices/efi/0/Config/DmiBoardProduct" "Iloveapple"
VBoxManage setextradata "VM Name" "VBoxInternal/Devices/smc/0/Config/DeviceKey" "ourhardworkbythesewordsguardedpleasedontsteal(c)AppleComputerInc"
VBoxManage setextradata "VM Name" "VBoxInternal/Devices/smc/0/Config/GetKeyFromRealSMC" 1
Copy the above code and paste into notepad then use the option to replace the VM name with a virtual machine name. After that, click replace all to change the VM name with Virtual machine name which is macOS Catalina.
Important note: Before going to insert the virtual machine code I suggest you close the VirtualBox. Otherwise, you will not be able to go ahead into the installation process.
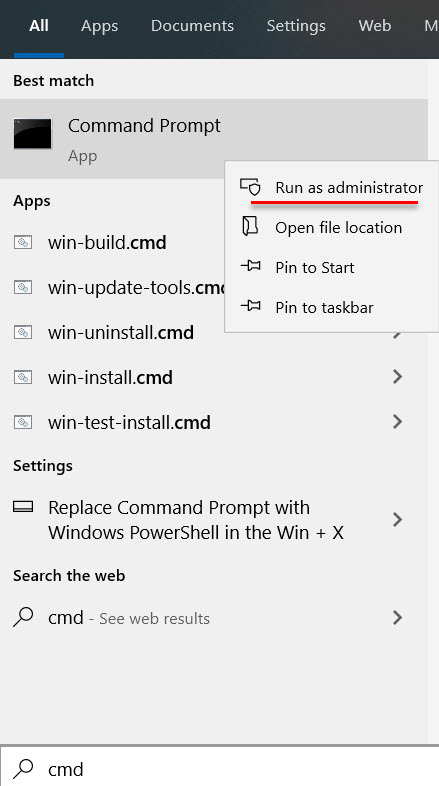
When you edited and replaced the VM name with created virtual machine name. Go ahead and type cmd on the Windows menu, then right-click and Run as administrator. Step by step copy and paste the virtual code into CMD using enter key of your keyboard.


Install macOS Catalina final on VirtualBox
VirtualBox can be one of the easiest operating systems according to its function, all the settings are easily customizable.
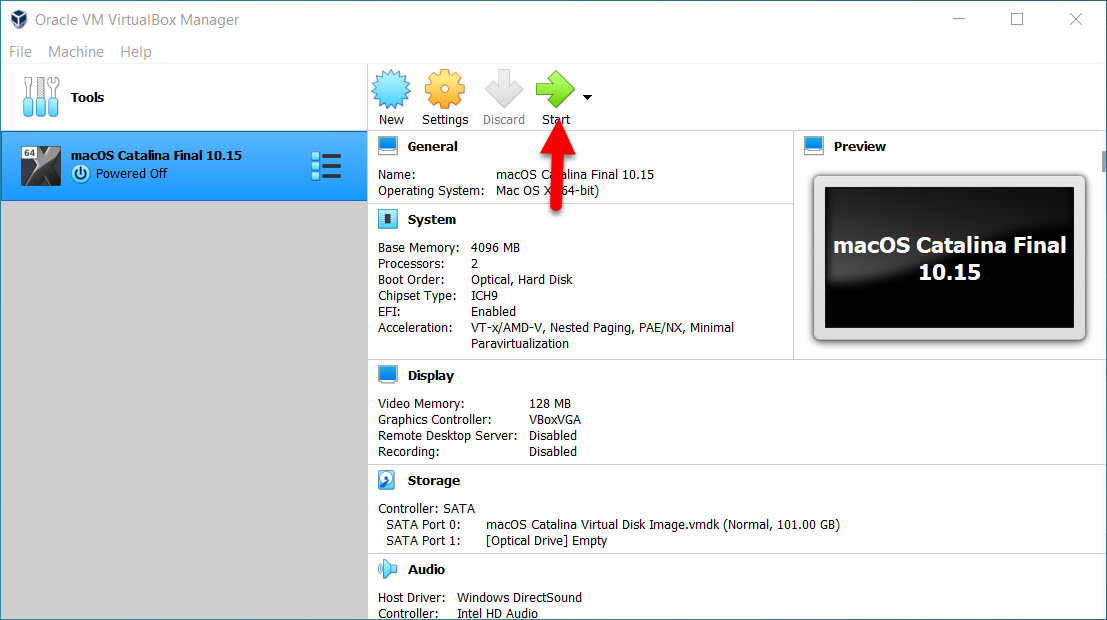
Open the VirtualBox and click on the Start button, wait for some seconds until the black screen should bypass.
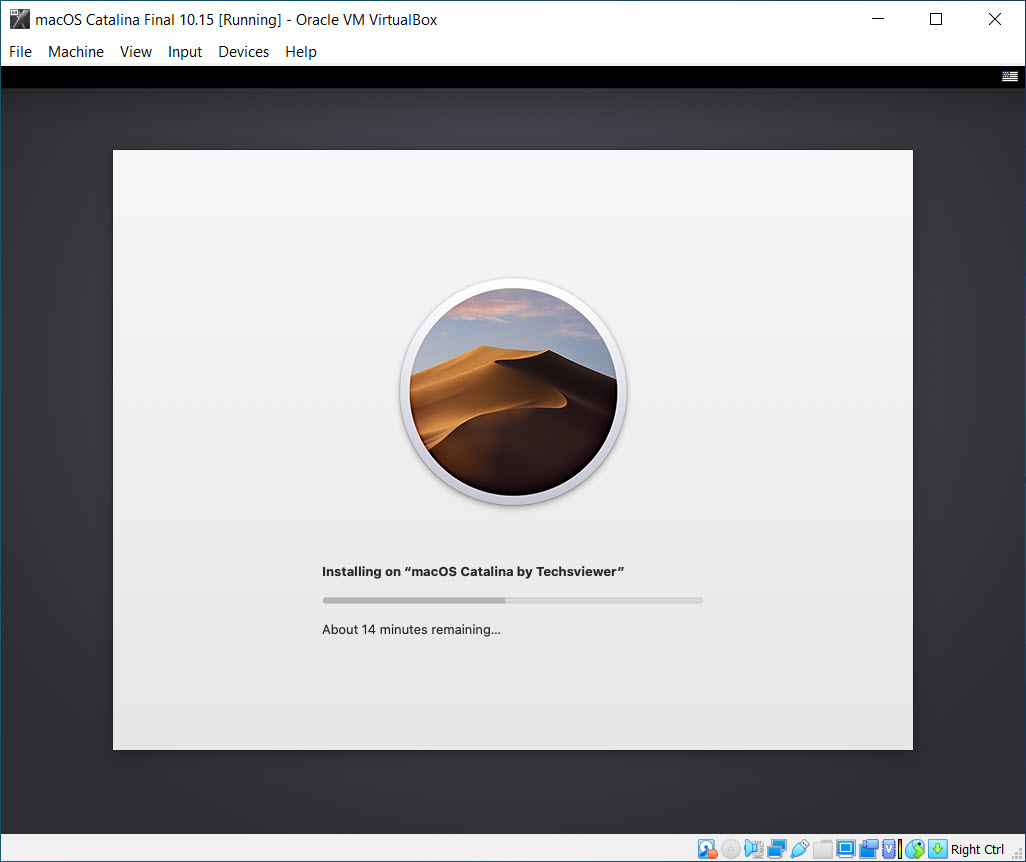
Once you bypass the black screen full of the code, again you will see the installation windows. Because macOS Catalina is a heavy operating system this step of installation might take some minutes. Be patient until the installation process should complete. When the installation is completed the Virtual machine will restart automatically.

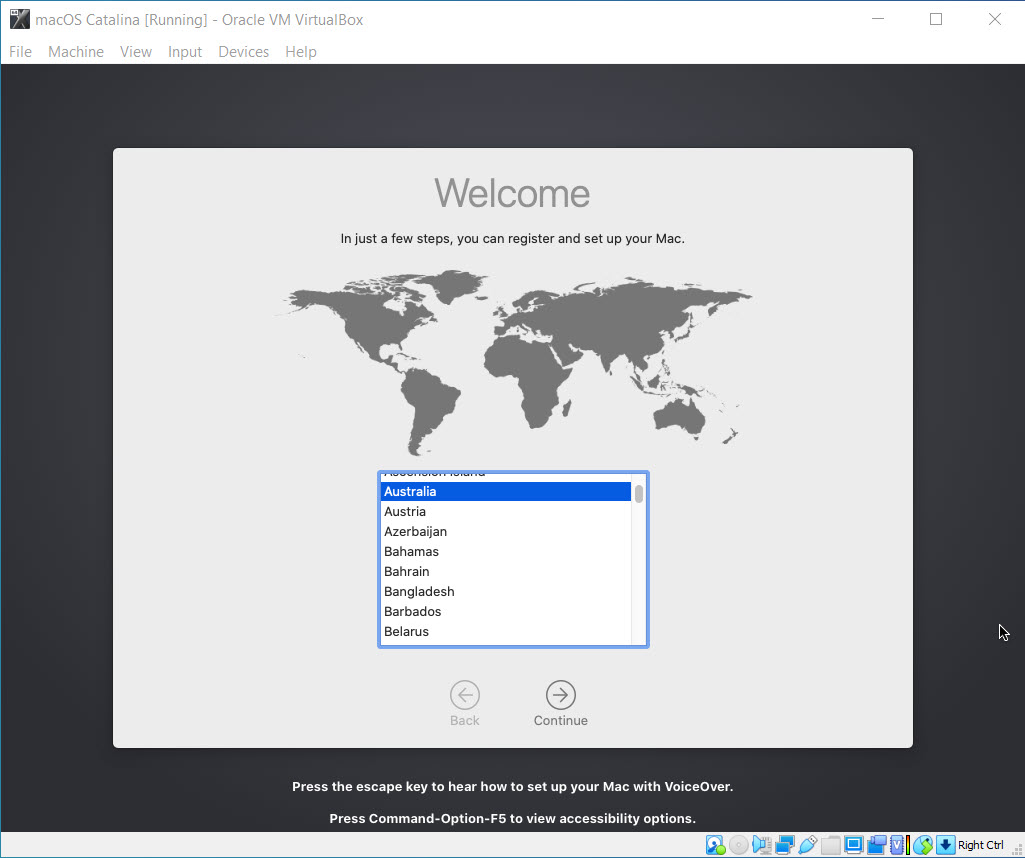
When the virtual machine restarted don’t do anything because the first setting for first use is remaining. On the first windows select your country and click continue.

- Select your keyboard layout and click continue.
- Click on my computer doesn’t connect to the internet.
- Choose don’t transfer any information right now.
- Click on sign up later and click the skip button.
- Agree to the terms and conditions of macOS Catalina.
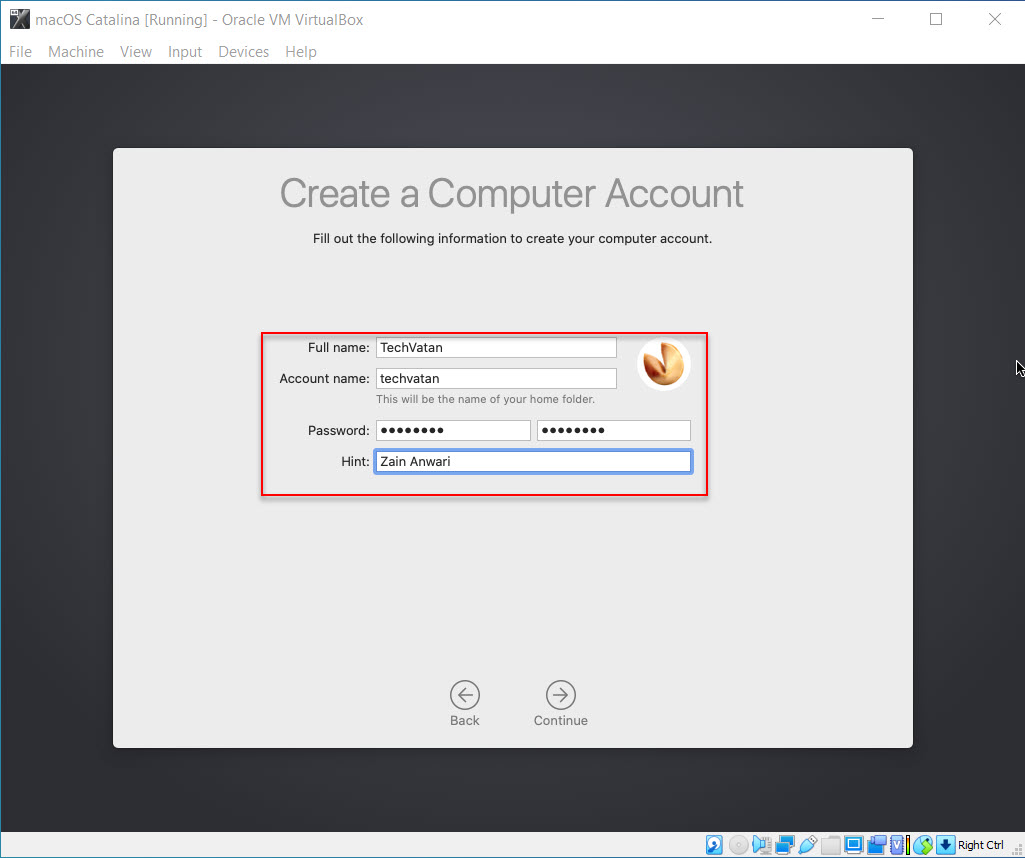
- Create a computer account, using your full name, account name, password, and hint then click continue.
- On express setup simply click continue.
- Again on screen-time click continue.
- Select your look for macOS Catalina.
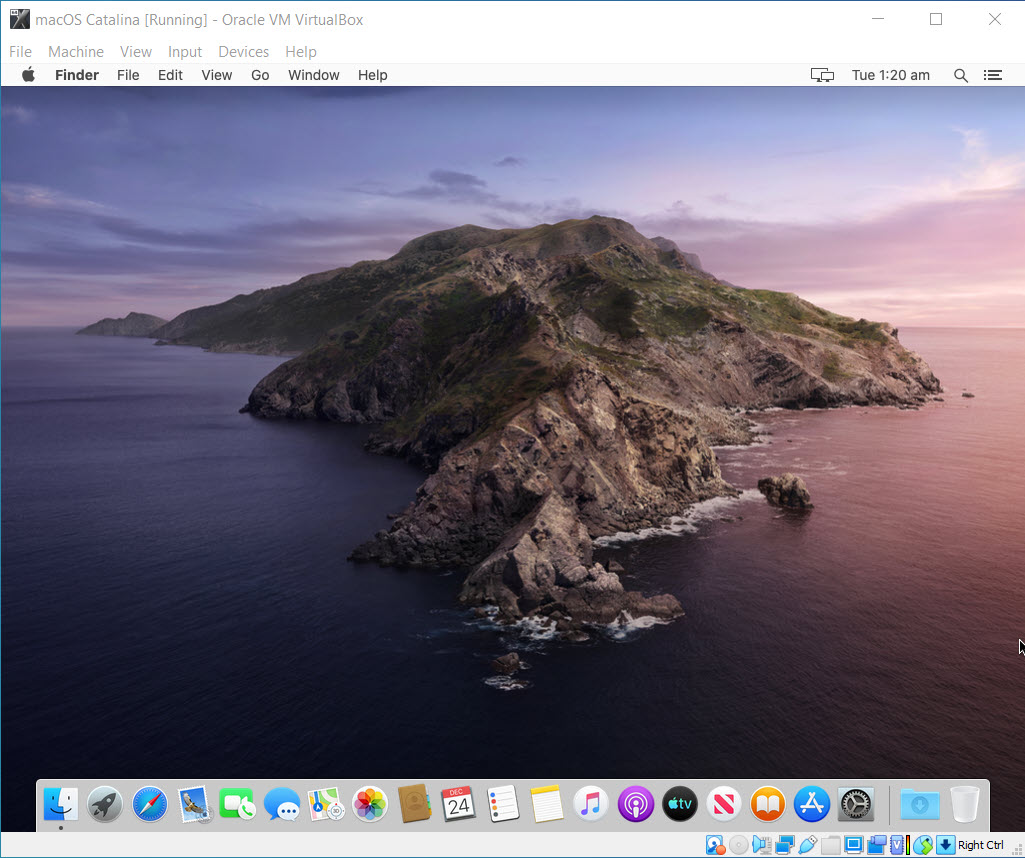
- And finally, macOS Catalina is successfully installed on VirtualBox.
Related:
- How to install macOS Catalina 10.15 final on VMware on Windows PC
- How to Install macOS Mojave 10.14 on Vmware on Windows?
- Install macOS Mojave on Virtualbox on Windows?
Conclusion
That’s is all about on how to install macOS Catalina final on VirtualBox on Windows PC. I hope you have gotten something from this article, again if you faced any kind of issue on any step comment on the comment section and share your issue to let us know about that. And we warmly welcome your nice feedback, and we are ready to give you each feedback answer.


THIS INSTRUCTIONS DO NOT WORK
Hi There, Could you kindly tell us, at which step are you having problems?
Hello Sir Ali Safar, I followed your explanations and everything is working fine and smooth. I Wanted to congratulate you because I have spent days how to figure out to run MacOS on VirtualBox. Here is my config :
– Ubuntu Gnome Shell 22.04
– VirtualBox 6.1.34
– Catalina VMDK file
What can I say more than, once again, thank you very much.