One of the most common issues that you are facing after installing macOS Catalina 10.15 on VirtualBox. That is that you can not fix the full-screen resolution mode. I think most of you encountered this issue. If you are having big screen why not use the full-screen resolution. You have completed your full experience with installing macOS Catalina on VirtualBox until you wish to enter the full screen on VirtualBox on your Windows PC. It doesn’t matter whether you are installing macOS on Mac, Linux or Windows operating system using the virtualization world. But most of the time when you are installing macOS on Mac by installing the drivers you are going to fix the screen resolution. But installing on VMware or VirtualBox needs some important guidelines. That I have prepared for you to fix macOS Catalina screen resolution on VirtualBox.
Still, if you are one the heavy user of macOS operating systems like macOS Sierra, High Sierra, Mojave, or the new OS macOS Catalina. Then you want to have the complete view on new macOS operating, its better to install on VMware or VirtualBox.
Fix macOS Catalina Screen Resolution
Let’s dig on how to fix macOS Catalina Screen resolution on VirtualBox. The same issue as we faced on fixing the screen resolution on macOS Mojave now we face in macOS Catalina. Don’t worry the commands which used on macOS Mojave the same command are using in macOS Catalina. There aren’t changes, overall the method is working properly every time without facing any error. Also, many times we have tested this command on different macOS operating system, so I recommend you to follow the guidelines correctly.
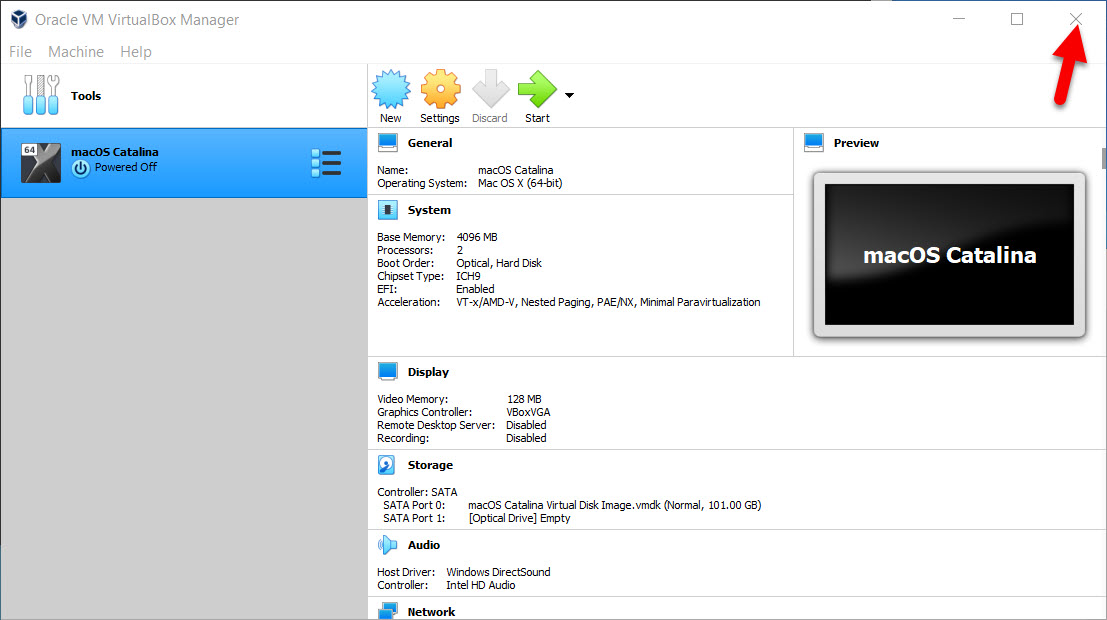
Step 1. Getting to the first step close the VirtualBox completely, if the macOS Catalina is already running on the VirtualBox. After closing you will see a pop-up click on Power off the virtual machine. After that, copy the below codes into the notepad.

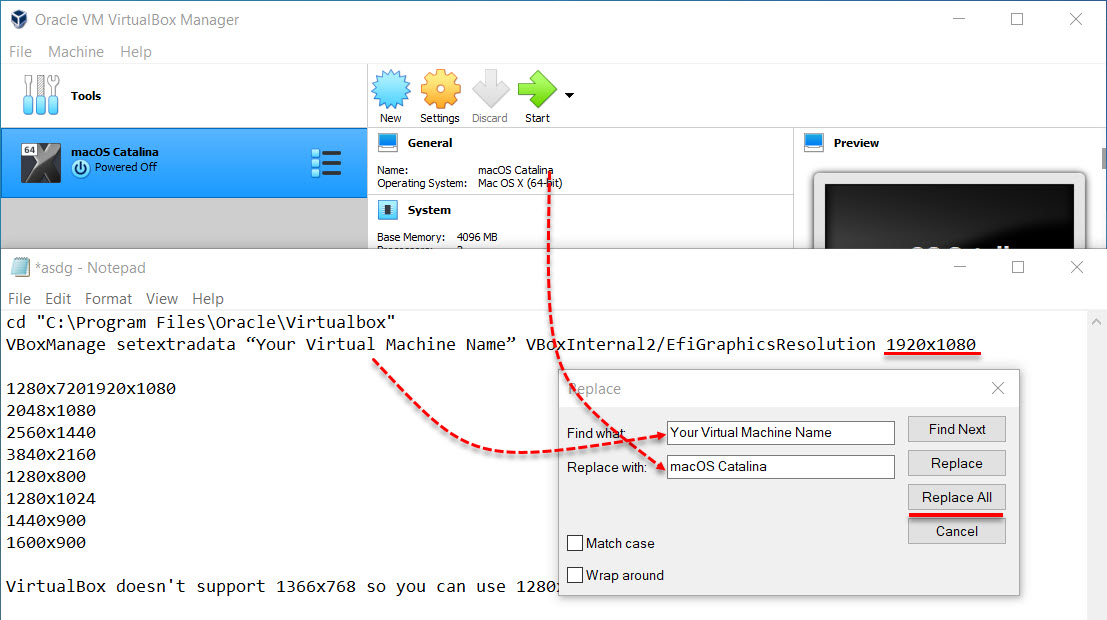
cd "C:\Program Files\Oracle\Virtualbox"
VBoxManage setextradata “Your Virtual Machine Name” VBoxInternal2/EfiGraphicsResolution X

1280x7201920x1080
2048x1080
2560x1440
3840x2160
1280x800
1280x1024
1440x900
1600x900

VirtualBox doesn't support 1366x768 so you can use 1280x720 with "Scaled Mode".
Step 2. Now you need to replace the created virtual machine name “macOS Catalina” with the name of “Your virtual machine Name”. After that, choose the resolution of your screen and click Replace or Replace all.
Note: Again one thing I should recommend to you that VirtualBox should be closed during applying the code.
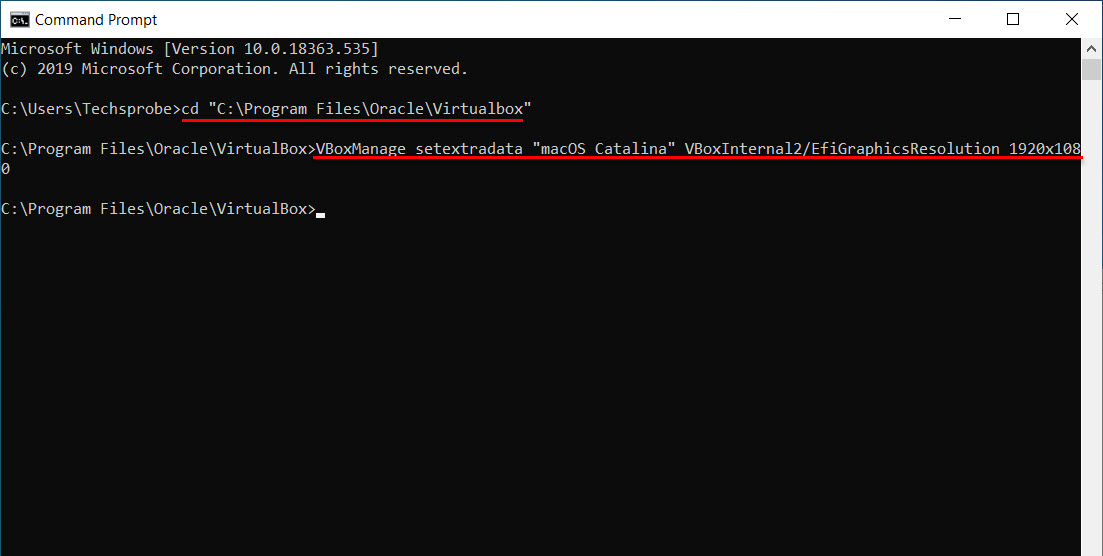
Step 3. Navigate to Windows menu then type CMD, when CMD prompt open that.


Step 4. When the CMD launched copy the codes one by one and paste into the command prompt. The codes which performed in Step2. When the codes entered then close the cmd.

Start Virtual Machine
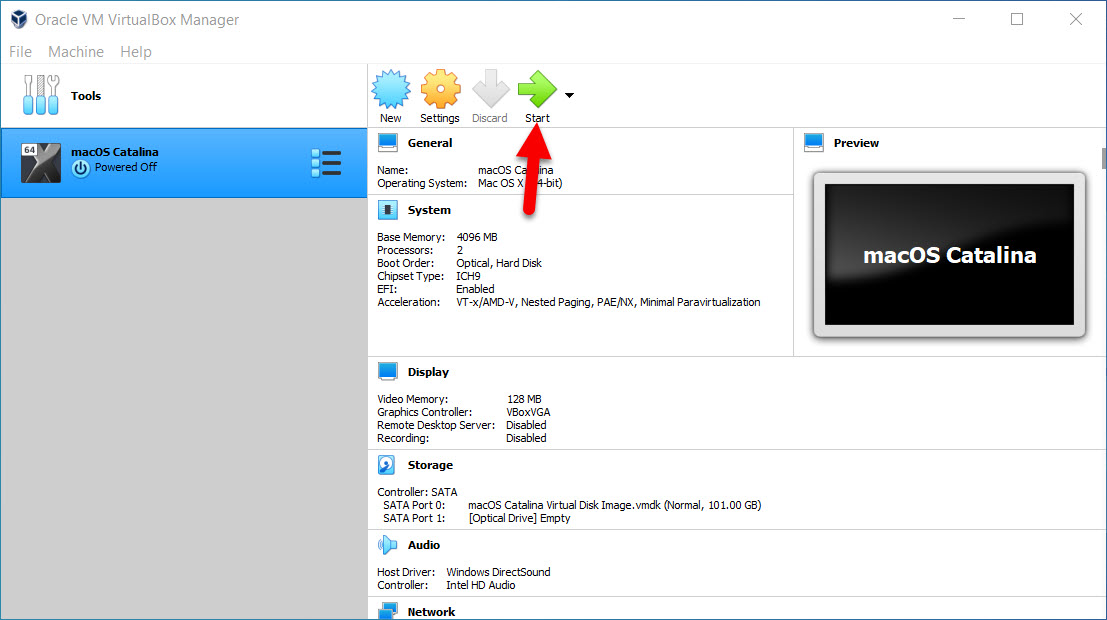
Step 5. After that, you applied the codes open the VirtualBox, then select the macOS created Virtual machine. And click on the Start button.
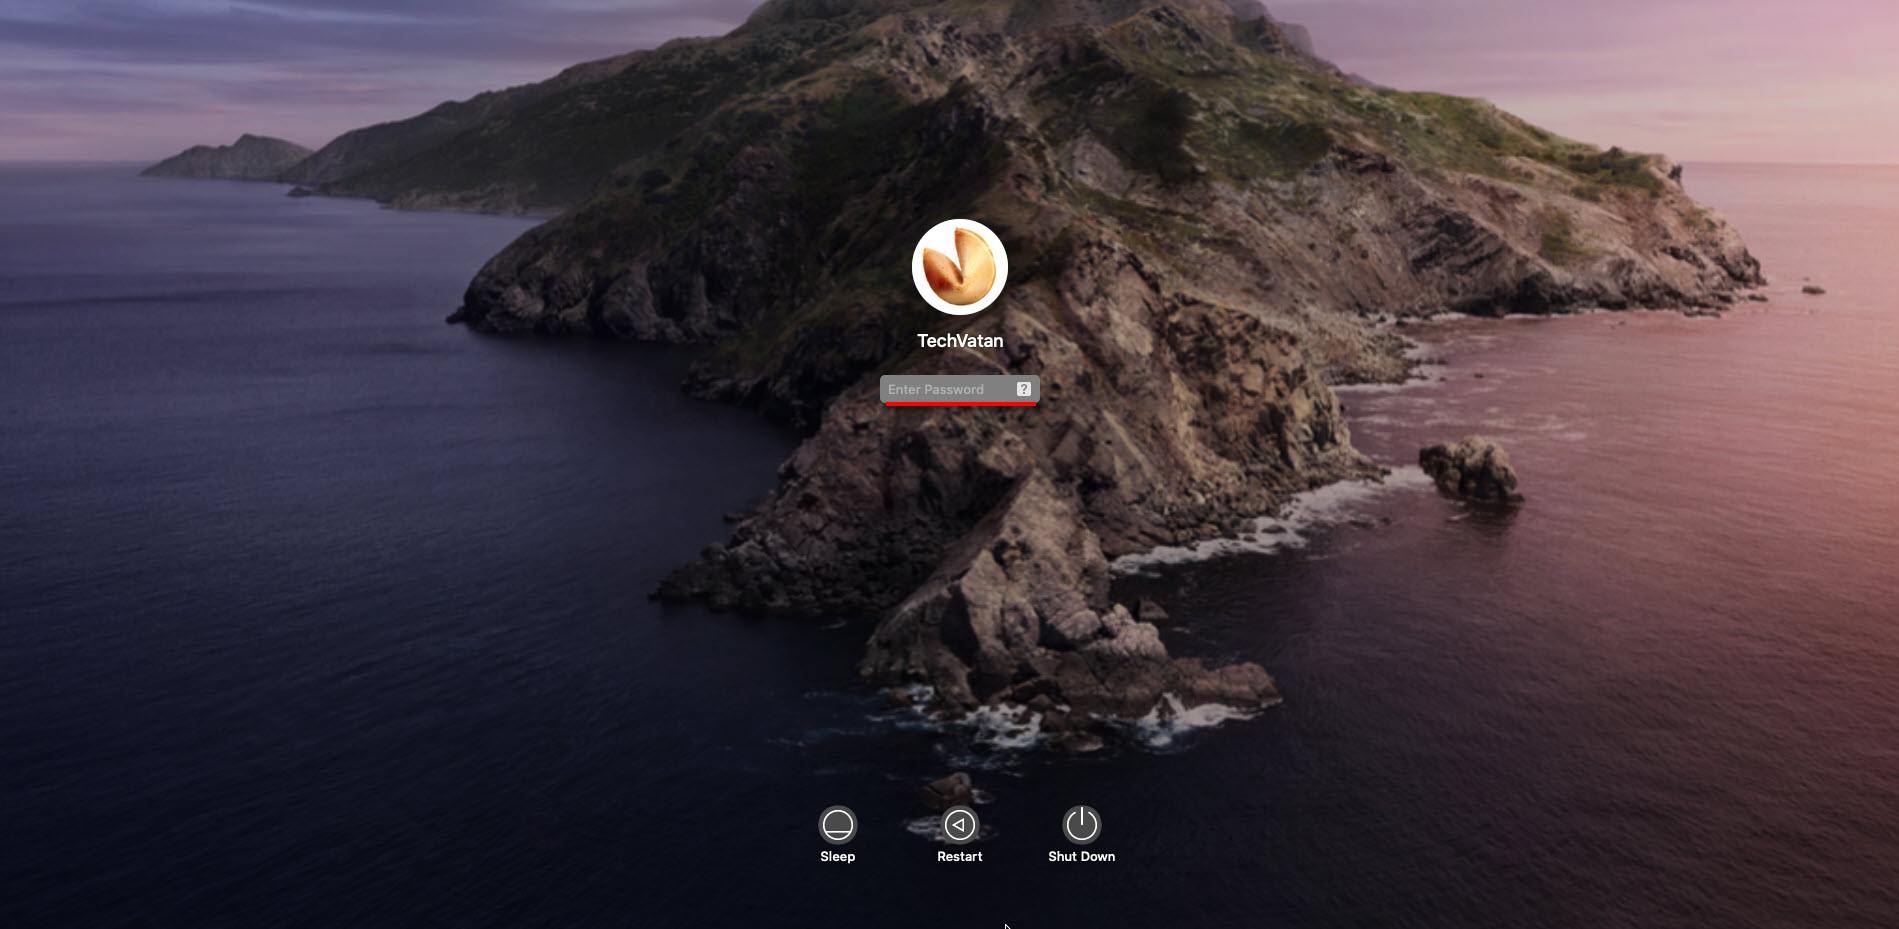
Step 6. While getting to macOS Catalina login enters the password. Here you will see huge changes to the screen resolution of macOS Catalina. Or another way on the top menu of VirtualBox click on View then choose Full-screen mode.

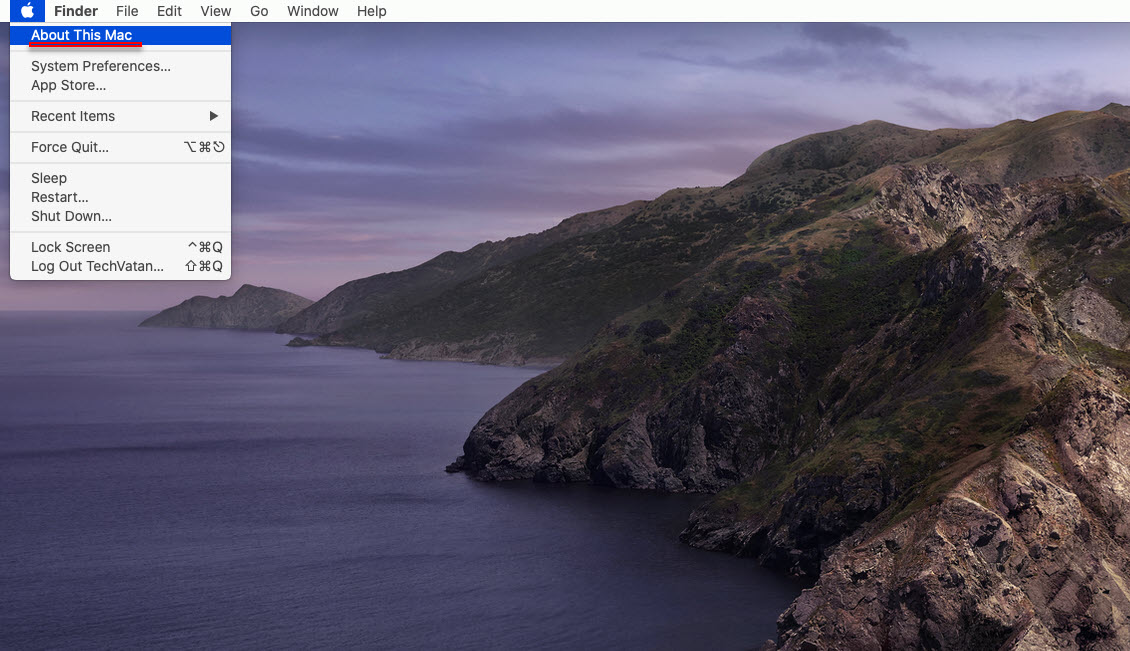
Step 7. Again to check the screen resolution click on the left-handed on the Apple logo. And click on About this Mac.

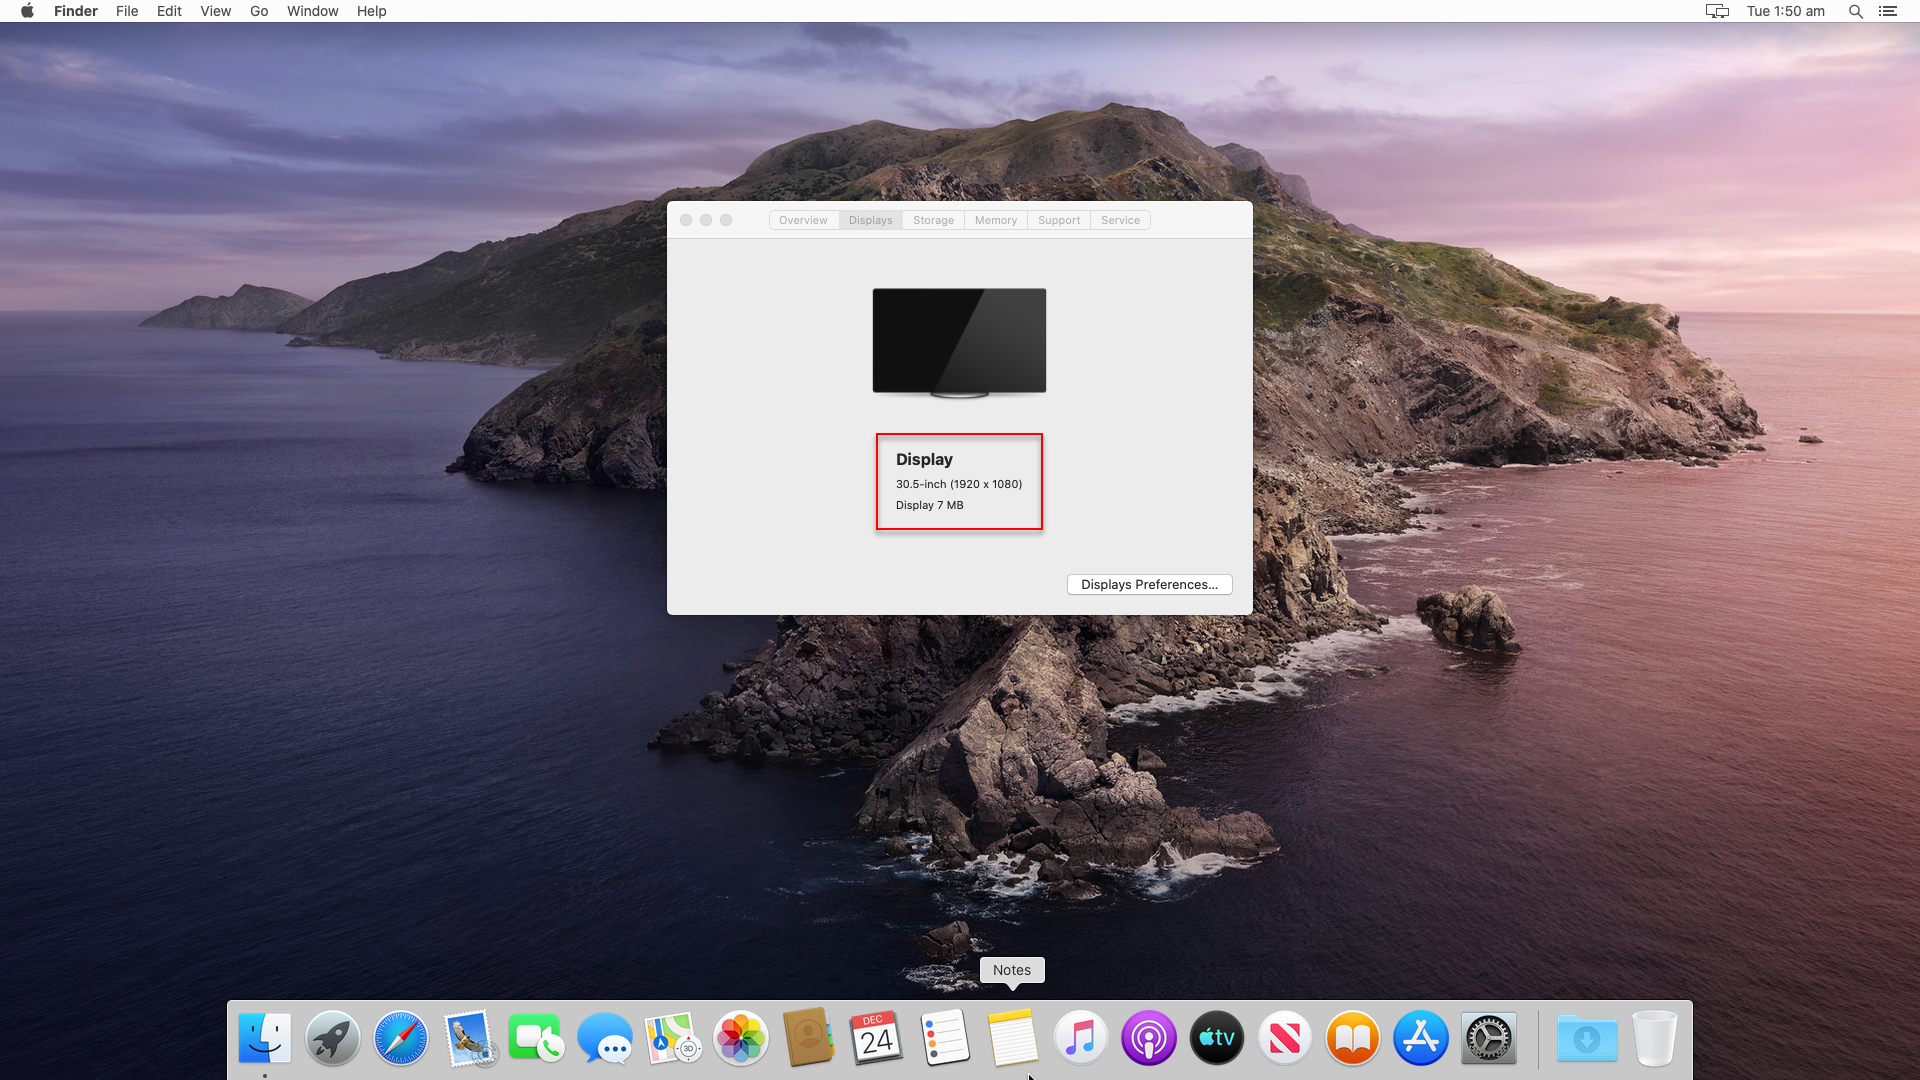
Step 8. When the window opened click on the Displays tab, and you will see the display resolution is “1920×1080”. Enjoy using the beautiful wallpaper of macOS Catalina with full resolution on VirtualBox.

Bottom Line
That’s all about how to fix macOS Catalina screen resolution on VirtualBox on Windows. If you have any questions about this article comment below in the comment section, also share your beautiful feedback too.


1 comment